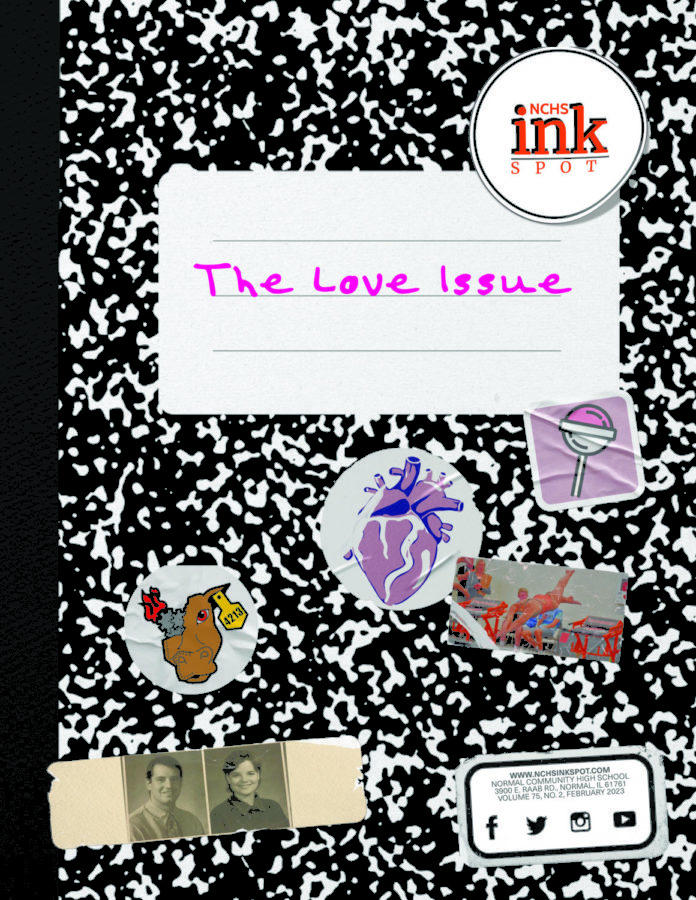
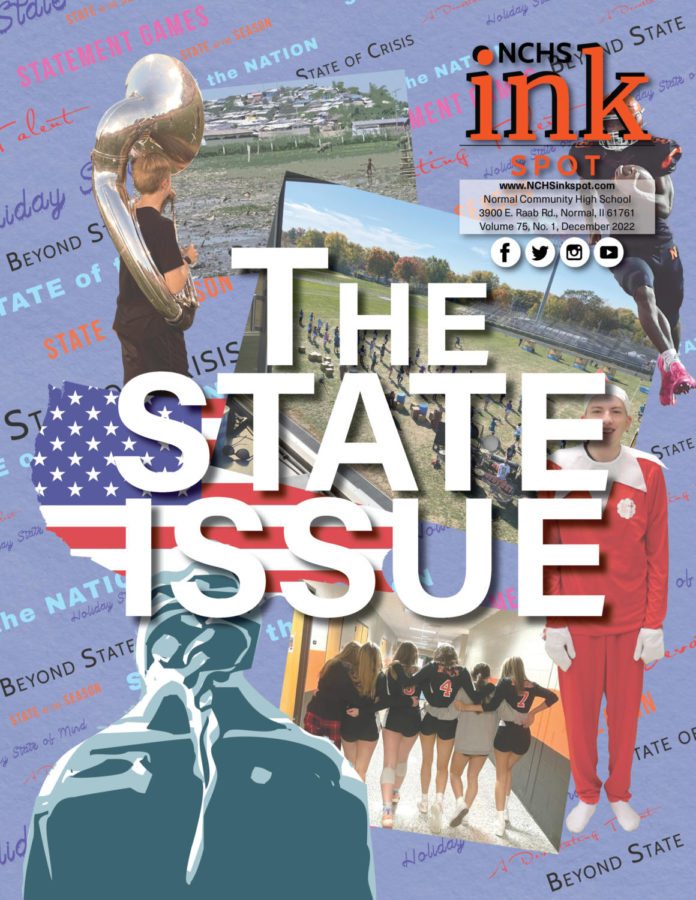
NCHS students made their own chapbooks, small, self-published booklets, with the direction of Mr. Steve Halle, Director of the English Publication Unit at Illinois State University, during a Lunch and Learn event in the NCHS IMC on October 12.
“I stumbled upon chapbooks and I couldn’t put them down,” Halle said about how he got interested into chapbook making. While chapbooks may be new to NCHS students, they have been around for centuries.
Chapbooks have been around since the 16th century, originating around the 1540s. A “chapman” was the term for people who produced and distributed chapbooks to people back in the day. Chapman as a last name is rooted into the profession. The chapbook is the one of the earliest forms of publishing. When they were first introduced the content normally in chapbooks were politics, different types of stories, and religions writings.
Morden chapbooks can be made into graphic novels, picture books, holiday cards for different events, or they can be bound together to make one big book.
Halle, a publishing teacher at ISU, “started to incorporate chapbooks into [his] lessons because another teacher at ISU was teaching a class about making your own chapbook”, which interested Halle into doing it in his own classes.

Chapbooks are easy to make at home and do not require any expensive materials, here is a quick step-by-step:
- Gather your materials: paper (size is up to you); a needle and thread; something sharp to push through the spine of the papers; scissors.
- Line up all your papers – make sure the edges are aligned. A piece of cardstock or construction paper can be used to create a more durable cover. Place this on the top of the papers if you’d like a cover.
- Fold the papers together (hamburger style), with the cover on the outside of the fold.
- Use your thumbnail to completely make the fold crease along the spine of the cover (a special tool can be used to do this called a “bone folder” – these can be purchased at any scrapbook or hobby store. Bone folders should be used at times because the oils on skin can damage paper.
- Open to the middle of your book and poke 3 little holes through all the papers (one in the middle, top, and bottom).
- Thread your needle – do not tie off the thread, this will force a larger hole through the spine
- Stitch the binding- go out through the middle, in through the top, out the bottom, and back in through the middle. Then tie the stitching off with an overhand knot.
- Once you have tied the knot, remove the needle and cut any excess thread.


![Community honors longtime coach Mr. Bryan Thomas before Oct. 3 game [photo gallery]](https://nchsinkspot.com/wp-content/uploads/2025/10/Thomas-6-1200x1200.jpg)








![Playoffs Rd. 1: Coach Drengwitz on Ironmen’s 7A playoff opener at Carmel Catholic [video]](https://nchsinkspot.com/wp-content/uploads/2025/10/PW_PresserVCC_Thumb.png)


![Halloween candy cross section quiz [quiz]](https://nchsinkspot.com/wp-content/uploads/2022/10/Candy-cover-big-900x675.png)
![Average Jonah? [quiz]](https://nchsinkspot.com/wp-content/uploads/2022/05/average-jonah-900x600.png)

![[Photo Illustration]](https://nchsinkspot.com/wp-content/uploads/2025/09/trigger-words-1.png)


![Ironmen volleball head coach Ms. Christine Konopasek recorded her 400th career victory Oct. 21 as the Ironmen closed their regular season with a 2-0 sweep over Danville.
[Photo Illustration]](https://nchsinkspot.com/wp-content/uploads/2025/10/Vball400Thumb.png)
![Week 9: Coach Drengwitz on Week 8’s win, previewing Peoria High [video]](https://nchsinkspot.com/wp-content/uploads/2025/10/W9_PeoriaThumb.png)


![Postgame: Drengwitz on Community’s 56-6 win over Champaign Centennial; staying unbeaten in Big 12 [video]](https://nchsinkspot.com/wp-content/uploads/2025/10/10.17_FBwChampCent56-6_POST_thumb.png)

![On the Spot: This or That – Halloween [video]](https://nchsinkspot.com/wp-content/uploads/2024/10/tot-Halloween-YT-1200x675.png)
![On the Spot: This or That – Fall favorites [video]](https://nchsinkspot.com/wp-content/uploads/2024/10/ots-fall-web-1200x800.png)
![On the Spot – Teachers tested on 2023’s hottest words [video]](https://nchsinkspot.com/wp-content/uploads/2024/01/On-the-Spot-Teachers-tested-1200x675.png)

